Live Stream Lighting and Camera Setup: The Complete Creator Guide
A practical, budget-friendly guide for streamers to elevate their visual production quality to a professional standard using smart lighting and camera techniques.

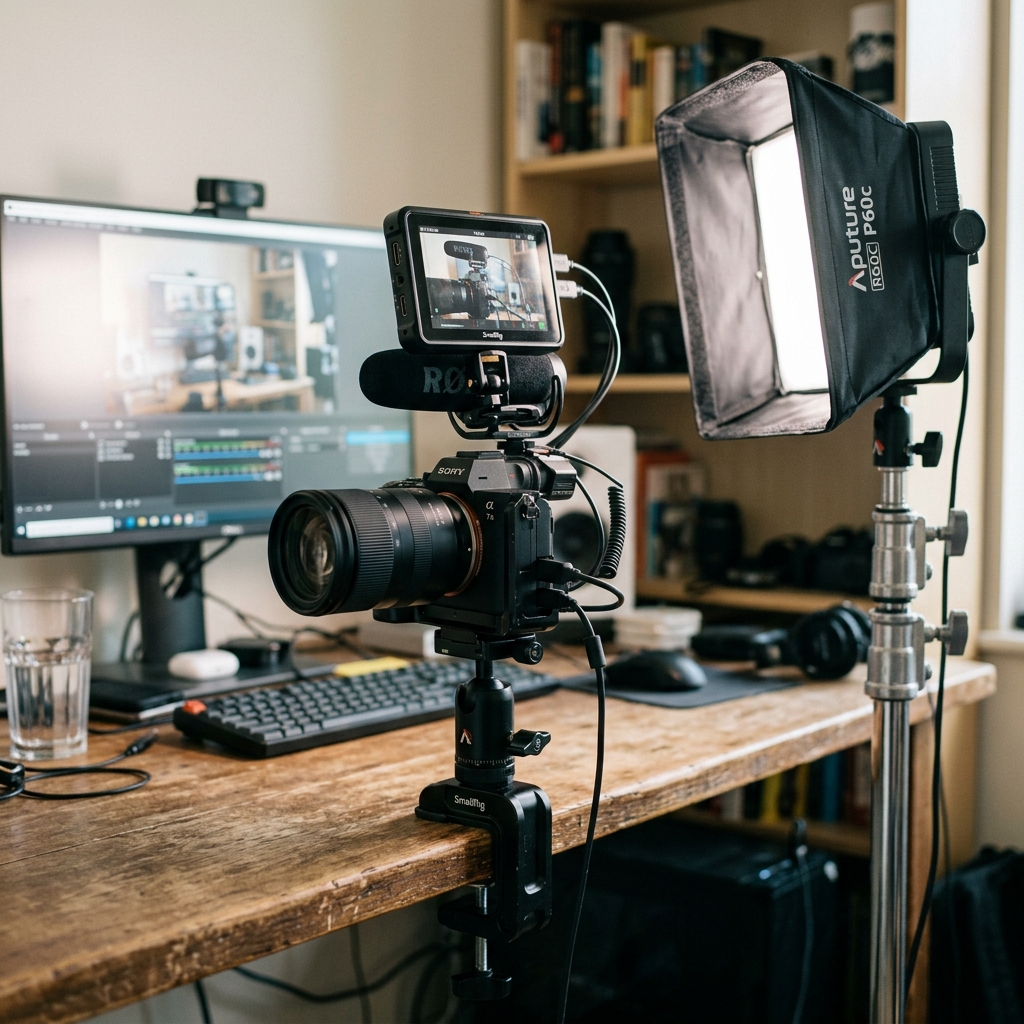
The very first thing viewers notice when tuning into your live stream isn't your voice or your gameplay—it's how crisp, bright, and clear your video looks. A dark, grainy, or yellow-tinted facecam can drive potential viewers away in seconds, whereas a well-lit, sharp camera immediately signals professional-tier production. The good news is that you don't need a massive budget to create an impressive setup right at home. In this guide, we'll walk you through how to achieve studio-quality visuals without breaking the bank.
Why Lighting Matters More Than the Camera
Many beginner streamers believe buying an expensive camera is the magic solution to looking great on stream. In reality, the opposite is true: even an affordable webcam looks remarkable under good lighting, while a high-end DSLR will produce noisy, washed-out video in a poorly lit room. Proper illumination allows your camera's auto-exposure to function accurately, keeps your facial features razor-sharp, and eliminates video grain. If you have funds to invest, spend them on lighting first and upgrade your camera later.
Budget Lighting Setup for Live Streamers
1. Key Light: Your Primary Light Source
The primary light directed at your face is called the key light. Position it slightly angled toward you in front of your desk so that it casts even, flattering illumination across your face. The most popular budget-friendly option is a ring light—readily available in Bangladesh for ৳800 to ৳2,000 complete with an adjustable stand. A key advantage of ring lights is the neat circular reflection (catchlight) they create in your eyes, instantly making your facecam look lively and energetic.
2. Fill Light: Softening Harsh Shadows
Relying solely on a key light on one side creates deep, harsh shadows on the opposite side of your face. A fill light balances this contrast. Placing a white foam board, a sheet of white cardboard, or even sitting beside a white wall opposite your key light will bounce light back onto your face—a completely free solution. Alternatively, you can use a secondary, lower-intensity desk lamp or mini LED panel.
3. Background Light: Adding Depth and Atmosphere
Placing an RGB LED strip or accent light along your back wall introduces visual depth to your frame and establishes your signature channel aesthetic. RGB LED strips are widely available and very affordable in Bangladesh. Using a cool or moody tone (such as deep blue or purple) helps separate your silhouette from the background, making you pop out cleanly on camera.
The Zero-Budget Hack: Natural Window Light
If you are streaming on an absolute zero budget, face an open window. The golden rule: the window must always be in front of you, never behind you. Having a bright window behind you will blow out your camera's sensor and turn you into a dark silhouette. Keep in mind that natural daylight shifts throughout the day, so if you want to maintain a reliable stream schedule into the evening, investing in a ring light is well worth it.
Camera Setup: Making the Most of What You Have
Dedicated Webcams
A reliable 1080p webcam (such as the Logitech C920 series) is more than sufficient for high-quality live streaming. Always mount your camera at eye level—placing it directly atop your primary monitor usually works best. Awkward angles from low on your desk or high above your head look unflattering and disconnected to your audience.
Smartphone Camera Alternative
If you own a modern smartphone, you may not even need to buy a webcam—your phone's primary rear camera easily outperforms most entry-level webcams. Dedicated utilities such as Camo, DroidCam, or Iriun allow you to route your phone feed straight into OBS Studio. Mount your phone securely on a mini desk tripod, and use a wired USB connection rather than Wi-Fi to eliminate stream lag and latency.
Recommended Camera Settings in OBS Studio
- Right-click your facecam source, open Properties, and set your resolution manually to 1080p or 720p at a consistent frame rate.
- Add a 'Color Correction' filter to subtly boost brightness, contrast, and saturation so your skin tones look fresh and vibrant.
- Turn on your stream lights and camera 2–3 minutes before going live to allow your sensor's auto-exposure and white balance to calibrate smoothly.
- If you are using a green screen, fine-tune the Chroma Key filter's Similarity and Smoothness sliders under your actual streaming lighting conditions.
Common Lighting & Camera Mistakes to Avoid
- Harsh overhead ceiling lights: These cast unflattering downward shadows under your eyes; always position primary lighting from the front.
- One-sided lighting: Leaving one half of your face brightly lit while the other is in darkness creates unnatural contrast.
- Bright background windows: Intense backlighting confuses your camera's exposure, plunging your face into darkness.
- Shaky or awkward low camera angles: Elevate your camera to eye level using a desk tripod or a stack of sturdy books.
- Cluttered, distracting background: Keep your physical frame tidy, or use accent LEDs to mask clutter and highlight intentional room decor.
How Visual Quality Directly Drives Supporter Tips
A sharp, vibrant facecam is not just an aesthetic upgrade—it has a direct impact on your earnings. When viewers can clearly see your genuine facial expressions and real-time reactions, they form a deeper emotional connection, significantly increasing their likelihood of sending tips. On Superchat BD, tipping thrives on creator-fan connection, and that bond starts with a polished visual presence. Once you optimize your lighting, you will notice an immediate difference in viewer engagement within the first ten minutes of your broadcast.
Once your setup is calibrated, your daily routine becomes second nature: flick on your lights, open OBS Studio, and start streaming. Pairing high-quality broadcast visuals with an easy monetization tool like Superchat BD creates a strong foundation for building a sustainable, long-term creator income.
Frequently Asked Questions
Can I live stream without a ring light?
Yes, provided you have sufficient, even light illuminating your face from the front. Facing a window during daytime streams produces reasonable results. However, for evening or night streams, having at least one dedicated front light is essential to prevent your camera feed from looking dark and grainy.
How much does a good budget lighting setup cost?
In Bangladesh, an investment of ৳1,500 to ৳3,000 is enough to get a versatile ring light with a tripod stand alongside a background RGB LED strip. This setup is more than adequate for beginners—you can always upgrade to softboxes or studio light panels later as your channel grows.
Smartphone camera vs. webcam: which one should I choose?
The main rear sensor on a quality smartphone usually delivers sharper imagery and richer color than an entry-level webcam. However, streaming on a phone for extended hours can cause battery drain and heating, requiring a continuous wired USB connection. For creators who stream 4 to 6 hours daily, a dedicated plug-and-play webcam offers greater day-to-day convenience.
What should I adjust after setting up my lights?
Fine-tuning the Color Correction filter inside OBS Studio is a great next step. In addition, keeping your background neat and ensuring your lens is placed firmly at eye level are two simple tweaks that make an immediate difference in the professionalism of your stream.